Are you planning a new iOS application and feeling overwhelmed by all the research and details involved? Building an iOS app can be challenging when you are unsure where to begin or what needs to be defined before development starts. It’s easy to feel lost, but you are not alone. You’re in the right place to get the guidance you need.
As a custom software development company, we at Mallow have extensive experience delivering software solutions and mobile applications across many industries. With more than a decade of expertise, we have built reliable solutions that keep clients coming back. Through our work, we have gained valuable insights and helped aspiring app creators navigate the complexities of iOS development.
In this article, you will find a complete roadmap covering the entire journey, from shaping your initial idea and choosing the right development approach to addressing technical challenges and managing marketing and maintenance. With a clear understanding of common pain points and pitfalls in iOS app development, you will be better prepared to make informed decisions, avoid costly mistakes, and turn your innovative idea into a successful app on the App Store.
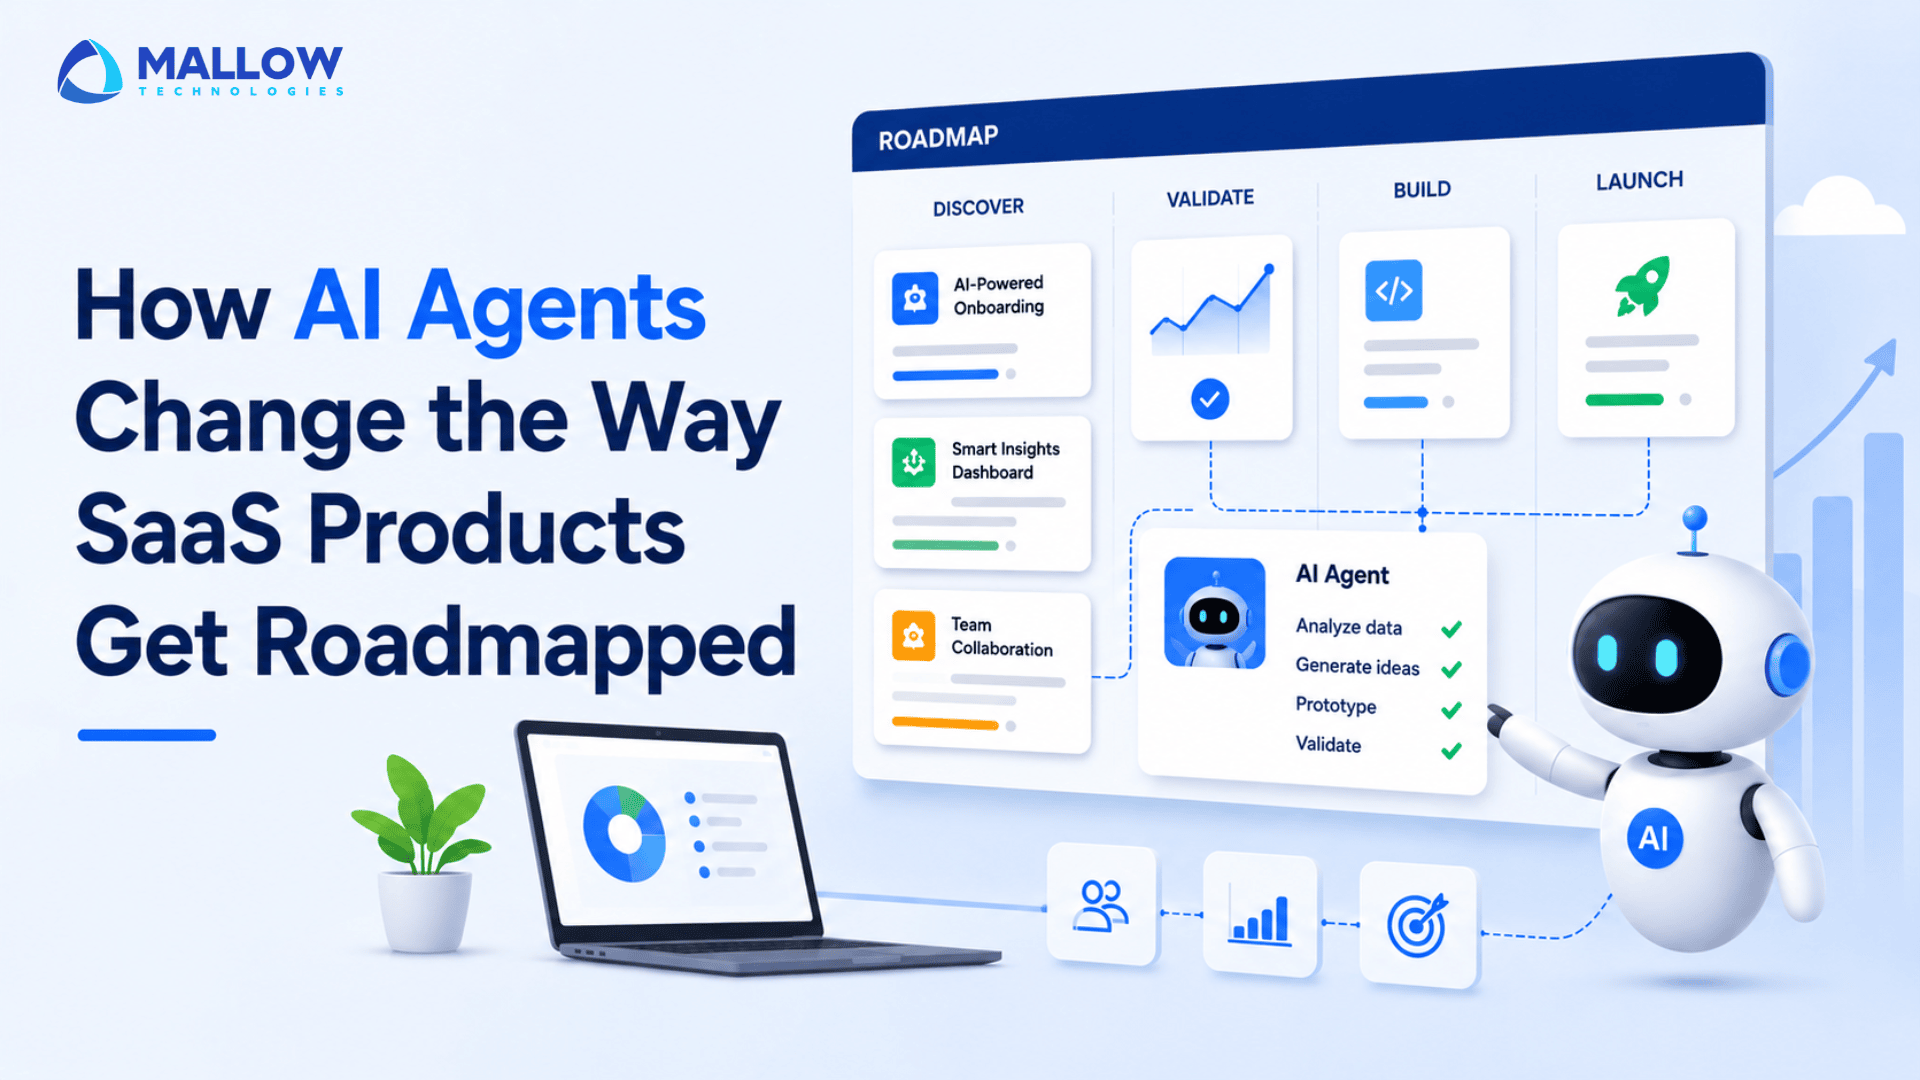
Steps to consider when building your iOS mobile application from scratch
Following a well-defined, step-by-step process for developing your iOS application is essential for several reasons. It brings structure and clarity to what can otherwise be a complex and overwhelming journey. Breaking the development process into manageable steps makes it easier to prioritize tasks, set milestones, and track progress. This approach also reduces the risk of overlooking important elements such as design, development, and deployment.
Step 1 – Define your business idea
Refining your idea is an important step in building an iOS application. Start by clearly defining the problem your app will solve. Think about real-world pain points or gaps in existing solutions.

Identify your target users and understand their characteristics, needs, and preferences. Determine what makes your app different from competitors. Highlight the unique features, selling points, or benefits it will offer. Focus on the specific problems your app can address and the improvements it can bring.
Next, assess the technical feasibility of your idea. Consider whether the necessary resources, skills, and technologies are available to support development.
Step 2 – Conduct market research and validate your idea

- Market research is a crucial step in building your iOS application because it helps you understand your target audience, competitors, and the broader market landscape. Start by defining the goals of your research. What information do you need, and what are your main objectives?
- Identify your potential users by defining their demographics, interests, and behaviors. Conduct surveys, interviews, or focus groups to gather feedback from real users. Creating detailed user personas can also help represent different segments of your audience.
- Study how similar apps are marketed and monetized. Estimate the size and growth potential of your target market by reviewing statistics, reports, and industry trends.
- Develop a clear strategy for entering the market. Identify specific niches or segments to target, and analyze potential barriers such as regulatory requirements or strong competition.
- Use tools like a business model canvas to outline key elements of your app idea, including the value proposition, customer segments, and revenue streams.
- Build a prototype or Minimum Viable Product (MVP) to test your idea’s feasibility. An MVP helps you release a functional but simplified version of your app quickly, allowing you to collect early user feedback and validate your concept. This reduces development costs, lowers risks, and speeds up time-to-market while ensuring your product aligns with real user needs and market demand.
Step 3 – Decide your application features
After completing thorough market research and understanding your target audience’s needs, the next step is to create a feature list. Focus on prioritizing essential features while keeping the user experience at the forefront. Consider what will make your app stand out from competitors. Document each feature along with user stories to guide the development process.
Here is a checklist to help you define and prioritize your app’s features:
✅ Clearly identify the problem or need your app will address. Understand the pain points of your target audience.
✅ List the essential features that directly solve the identified problem.
✅ Prioritize these core features, as they will form the foundation of your app.
✅ Categorize features into must-have, nice-to-have, and future enhancements. Focus on must-have features for the initial version (MVP).
✅ Incorporate insights from user feedback and surveys to understand user expectations during their journey within the app.
✅ Include monetization or analytics tools to gather insights on how users interact with your app.
✅ Create a roadmap for future feature enhancements and updates. Plan for continuous improvement beyond the initial release.
✅ Review important app store guidelines and ensure your app meets legal and compliance requirements, such as data privacy and accessibility.
✅ After finalizing the features, create a user flow diagram to visualize how users will navigate through your app.
Step 4 – Decide the mode of developing your application
Developing an iOS mobile app in-house
Your team should include skilled professionals with expertise in iOS app development, such as Swift developers, UI/UX designers, quality assurance specialists, and project managers. Building an iOS application with an in-house team can give you greater control over the development process. If your organization already has experienced iOS developers, this approach may be cost-effective in the long run.
An in-house team also understands your company’s specific requirements and can ensure smooth integration of the app with your existing systems and workflows. However, it is important to assess whether your team has the necessary skills, resources, and availability for the project. If not, you may need to invest in training or hire additional talent.
Choosing an in-house approach offers benefits such as real-time communication, quick decision-making, and faster issue resolution—especially useful for complex or fast-moving projects. At the same time, it requires significant time and resource investment, which may affect your organization’s workload. While this approach provides more control and customization, be sure to evaluate its feasibility based on your team’s capacity and long-term goals.
Outsourcing the development of your iOS mobile app
Outsourcing iOS app development to a specialized agency or development team can be a practical option when you lack in-house expertise or want to focus on your core business activities. External experts bring broad experience and technical knowledge, often enabling faster project completion. Outsourcing also gives you access to a wider range of skills, including design, quality assurance, and project management, all of which contribute to a successful outcome.
However, partnering with an external team means you will have less direct control over the development process. This makes effective communication and strong project management especially important. The outsourcing team must clearly understand your requirements and stay aligned with your goals. It is essential to choose a reliable outsourcing partner, review their portfolio, and set clear expectations through detailed project scopes and contracts. While outsourcing can streamline development, it requires active participation and consistent collaboration to ensure success.
It is equally important to confirm that the outsourcing company follows a transparent and well-structured development process. Their ability to provide clear documentation, regular progress updates, and open communication can significantly influence the final results. A dependable partner will keep you informed at every stage, making the outsourcing experience smoother and ensuring your project stays on track to meet its goals and timelines.
Step 5 – Define the right project management model

Here’s a list of factors to consider when choosing the appropriate project management model:
- Project Scope and Complexity – Assess the scope and complexity of your application. Complex projects might benefit from methodologies like Agile, while simpler ones may be suitable for Waterfall.
- Project Goals and Objectives – Clearly define your project’s goals, objectives, and key performance indicators (KPIs). Your chosen methodology should align with these goals.
- Budget and Resources – Evaluate the budget and resources available for your project. Some methodologies require more extensive resources and ongoing costs than others.
- Timeline and Deadlines – Consider your project’s timeline and delivery deadlines. Agile and Scrum, for instance, allow for more flexibility in adapting to changing timelines.
- Team Expertise – Evaluate your team’s expertise and experience with specific project management methodologies. Choosing one that aligns with your team’s strengths can be beneficial.
- Version Control – Developers use version control systems like Git to manage and track changes to the codebase, ensuring collaboration and code stability.
- Adaptability to the changes – Consider how adaptable your organisation is to change. Agile methodologies, for instance, are well-suited for organisations that can embrace frequent iterations and changes.
- Scalability and Flexibility – Consider whether your chosen methodology can scale to meet the evolving needs of your application and business.
- Continuous Improvement – Determine if your project management model supports continuous improvement and learning from each development cycle.
Check out this article on Agile Vs Waterfall, to get more insights on which project management model will be the right fit for your application development.
Step 6 – Design and Wireframing

Design and wireframing are essential steps in the iOS app development process. They help you plan both the visual style and the structure of your app. Start by defining the overall look and feel you want to achieve, including the style, color scheme, and branding elements. Creating a design mood board or style guide can help you maintain a consistent visual identity.
Begin with low-fidelity wireframes, which are simple sketches that outline the layout and basic structure of each screen. These early wireframes allow you to focus on functionality and flow before moving on to detailed design work.
Use wireframing tools like Balsamiq, Sketch, Adobe XD, or even pen and paper to create these initial wireframes. Develop a storyboard that maps out the user’s journey through the app. This helps visualise the flow and interactions. Identify key user actions and the transitions between screens. Organise the content and features logically. Consider how users will navigate through your app.
Create a sitemap that illustrates the hierarchy of screens and content. Once you’re satisfied with the wireframes and flow, move on to high-fidelity design. Create detailed, pixel-perfect mockups of each screen. Pay close attention to typography, spacing, and alignment. Use design tools like Adobe Photoshop, Sketch, Figma, or Adobe XD to create high-fidelity designs.
Gather feedback from potential users or stakeholders on your designs and prototypes. Conduct usability testing to identify issues with navigation, layout, or user interactions. Make sure to review and follow Apple’s Human Interface Guidelines (HIG), as they outline best practices for creating designs that feel consistent and intuitive on the iOS platform.
Step 7 – Develop your application
Below you’ll find a list of tasks that anyone would need to do in the development phase:
- Coding and Programming – This phase primarily involves writing the code that makes your mobile application work. You can use Swift (for iOS), or cross-platform frameworks like React Native, Flutter, or Xamarin to build the application.
- User Interface (UI) and User Experience (UX) implementation – The visual and interactive elements of the application are designed based the design guidelines. This includes screens, navigation, assets export etc. Based on the design finalised the same will be implemented in the development phase as well. Given that this is an iOS mobile application and users are more likely to be operating it on mobile devices, having an exceptionally intuitive and mobile-centric design is imperative.
- Back-End Development (if required): If your application demands server-side functionality, such as user authentication, database management, and data processing, back-end technologies like Node.js, Ruby on Rails, Python, or PHP etc, will be implemented. The back end is responsible for handling requests, managing data, and ensuring the application’s functionality.
- API Integration – To enable communication between the mobile side and back end, application programming interfaces (APIs) are integrated. If required, you can try including third party service (e.g., payment gateways, social media integration) and custom APIs developed for your application.
- Database or local storage set up – Data storage and management are crucial aspects of mobile app development. If you want your application to work in offline as well then consider local storage implementation of your application as well.
- Developer’s testing and debugging – Throughout the development phase, rigorous testing and debugging are essential to identify and fix issues, ensuring the application functions smoothly. This includes unit testing, integration testing, and user acceptance testing.
- Performance Optimisation – Developers work on optimising the application’s performance, including improving loading times, reducing latency, and minimising resource usage. This is critical for delivering a responsive and intuitive user experience.
- Security Measures – Security features, such as data encryption, secure authentication methods, and protection against common vulnerabilities, are integrated to safeguard user data and the application from potential threats.
- Iterative Development – Many mobile app projects follow an iterative approach, meaning that development occurs in cycles or sprints, allowing for regular testing, feedback, and refinements.
Step 8 – Ensure quality assurance

Prioritise quality assurance and testing throughout the development process. Conduct functional testing, usability testing, and performance testing to identify and resolve issues. Ensure that your app is bug-free, responsive, and user-friendly.
There are some key areas that you should consider when evaluating quality assurance.
- Test Plan Development: Create a comprehensive test plan that outlines testing objectives, scope, and methodologies. This plan should cover all aspects of the app, including functionality, usability, performance, and security.
- Unit Testing: Conduct unit testing to evaluate individual components or modules of the app for correctness and functionality. This ensures that each part of the app works as intended.
- Integration Testing: Test the interaction between different components or modules of the app to identify any issues related to data flow, communication, or compatibility.
- Functional Testing: Verify that all features and functionalities work as expected. Test each feature thoroughly to catch bugs, errors, or unexpected behaviour.
- Usability Testing: Evaluate the app’s user interface and user experience (UI/UX) to ensure it’s intuitive, user-friendly, and visually appealing. Gather feedback from potential end users to make necessary improvements.
- Performance Testing – Measure the app’s performance under various conditions, such as different network speeds, device types, and loads. Identify and address performance bottlenecks and optimise resource usage.
- Security Testing – Assess the app’s security to identify vulnerabilities, data breaches, or potential threats. Implement security measures to protect user data and app integrity.
- Compatibility Testing – Test the app on various iOS devices, screen sizes, and iOS versions to ensure it functions correctly on a wide range of configurations.
- Regression Testing – Re-run previous tests after making updates or fixes to ensure that new changes don’t introduce new issues or negatively impact existing functionality.
- Accessibility Testing – Ensure your app complies with accessibility standards, making it usable for individuals with disabilities. Test screen readers, voice commands, and other assistive technologies.
- Load and Stress Testing – Assess how the app performs under heavy loads and stressful conditions. This is crucial to identify server capacity and scalability requirements.
- User Acceptance Testing (UAT) – During UAT, the application is thoroughly tested by organisation users or stakeholders who represent the intended audience. The primary objective of UAT is to ensure that the app functions as expected and meets the users’ requirements and expectations. This phase allows for the identification of any issues, usability problems, or discrepancies between the application and the users’ needs.
- Beta Testing – Beta testing is a crucial step in the iOS application development process, where a limited number of external users are invited to test the application before its public release. These beta testers can be early adopters, volunteers, or a selected group of potential users. Beta testers provide valuable insights into the app’s usability, performance, and functionality. Their feedback can help identify and address bugs, usability problems, and feature improvements.
- Documentation and Reporting – Keep detailed records of test results, issues found, and actions taken. Provide clear documentation for the development team to address and resolve identified problems.
Check out this article on some of the quality testing methods that you can use to make sure your application remains high quality.
Step 9 – Deploy your iOS application.
Finally, get your iOS app ready for deployment to the App Store. Prepare all required assets, such as app icons, screenshots, and marketing materials. Follow Apple’s submission guidelines, including privacy policy requirements. Test your app on multiple devices and iOS versions to ensure full compatibility. After your app is approved, publish it on the App Store and begin promoting it to your target audience.
Pre-Deployment Checklist.
✅ Ensure you have a valid Apple Developer account. Set up your App Store Connect account to manage your app’s submission.
✅ Prepare essential app details, including the app name, description, keywords, and category. Create an attractive app icon and promotional screenshots following Apple’s guidelines.
✅ Have a privacy policy in place that complies with data protection laws and Apple’s requirements. Include a link to your privacy policy within your app’s App Store listing.
✅ Decide on the initial version number for your app. Generate a unique build number for your app, which you’ll use for version tracking.
✅ Thoroughly test your app on different devices and iOS versions to ensure it functions correctly. Identify and fix any bugs or issues.
Submission Checklist
✅ Review Apple’s App Store Review Guidelines to ensure your app complies with their rules.
✅ Make any necessary adjustments to meet the guidelines.
✅ Create high-quality screenshots showcasing your app’s features.
✅ Consider creating a preview video to demonstrate your app’s functionality.
✅ Determine your app’s pricing model (free, paid, freemium, subscription, etc.).
✅ Set the price if applicable and define any in-app purchase offerings.
✅ Optimise your app’s title, keywords, and description for better discoverability.
✅ Choose relevant and high-impact keywords to improve search rankings.
✅ Localise your app’s metadata, including the app name and description, for different regions.
✅ Ensure your app’s content is culturally sensitive and appropriate for the target audience
Post-Deployment Checklist
✅ Continuously monitor your app’s performance on the App Store. Adjust keywords and metadata as needed based on user engagement and feedback.
✅ Encourage user reviews and ratings on the App Store. Respond promptly to user feedback and address issues as they arise.
✅ Plan and release regular updates to enhance your app’s features and address bugs. Keep your app compatible with the latest iOS versions.
✅ Implement a marketing strategy to promote your app through various channels, such as social media, email marketing, and press releases. Consider running paid ad campaigns to increase visibility.
✅ Monitor app analytics tools like Google Analytics to track user behaviour, engagement, and conversion rates to improve your app’s performance and user experience.
Step 10 – Support and Maintenance
Support and maintenance are essential in the application development process to ensure continued functionality, security, and user satisfaction. Below are the tasks that you will undergo:
- User Support – Provide timely and effective support to address user queries, complaints, and issues. A responsive customer support system is crucial for maintaining user satisfaction.
- User Feedback Integration – Consider user feedback and reviews to identify areas for improvement, gather feature requests, and prioritise updates accordingly.
- Compatibility Updates – Keep the app up-to-date with the latest iOS releases and ensure that it functions correctly on new devices with varying screen sizes and resolutions.
- Security Updates – Implement security patches and updates to protect user data and ensure the app is safe from potential vulnerabilities.
- Performance Optimisation – Periodically review and optimise the app’s performance to ensure it runs smoothly, loads quickly, and uses resources efficiently.
- Regular Testing and Bug Fixing – Continuously test the application for bugs, glitches, and compatibility issues on various iOS devices and versions. Address and fix any reported issues promptly.
- Feature Enhancements – Plan and implement feature enhancements or additions to keep the app competitive and meet evolving user needs.
- A/B Testing – Experiment with different features or user interface changes using A/B testing to understand what works best for your audience.
How do application development companies determine the cost they charge?
By now, you have a clear understanding of the journey involved in taking your iOS application from an initial idea to its launch on the App Store. As you explore each stage of development, one of the most important considerations that emerges is the cost of building the application. This is a key factor, and understanding how development companies determine pricing and what influences those costs is essential.
Knowing the cost of building custom software is crucial for anyone starting a development project. First, it supports effective budget planning. With a clear estimate, businesses can allocate resources wisely and avoid unexpected expenses. It also helps set realistic expectations and define the project scope. By understanding the costs, stakeholders can make informed decisions about which features to include, ensuring the final product fits both their needs and budget.
Cost estimation is also an important part of risk assessment. It highlights potential financial challenges or areas where expenses might increase, allowing you to prepare mitigation strategies in advance. Check out this article on how much it would cost you to build a custom software in 2023 for more insights.
Still unsure about your next step? Feel free to reach out to our team.