

Are you feeling blank or unsure about how to upgrade your Ruby on Rails application? Are you uncertain whether to go directly to the latest version or opt for a phased approach? Upgrading your application can be a complex process, and it’s crucial to approach it with a well-thought-out plan.
At Mallow, we boast extensive expertise in Ruby on Rails and its diverse versions. Our portfolio showcases many accomplished projects, encompassing numerous successful Rails upgrades. This hands-on experience empowers us to navigate challenges effectively and implement top-notch practices during application upgrades, ensuring seamless and optimised outcomes for our clients.
After going through this article, you will learn about upgrading a Ruby on Rails application, covering essential aspects such as preparing for the upgrade, understanding version compatibility, and managing dependencies.
What do I need to consider before upgrading my Ruby on Rails application?
Upgrading a live application that has multiple features and functionalities can be a challenging process. Still, with careful planning and consideration, potential pitfalls can be mitigated, and the benefits of utilising the latest features and improvements can be harnessed to enhance the application’s performance, security, and maintainability.
Some key points to look into before upgrading include evaluating the current application’s version and compatibility with the desired target version, identifying potential breaking changes and deprecated features, assessing the availability of compatible gems and third-party libraries, establishing a robust backup and rollback strategy, and planning for comprehensive testing and quality assurance.
Interested in knowing more about the key considerations for upgrading your Ruby on Rails application? Check out our article on what you should do before planning an upgrade for your Ruby on Rails application.
What are the steps involved in upgrading my Ruby on Rails applications?
Step 1: Assess the current state of your application
When upgrading a Ruby on Rails application, it’s crucial to consider the compatibility of the existing codebase with the newer Rails version. This involves assessing deprecated features or changes in behaviour that might necessitate code adjustments. Evaluating the compatibility of third-party gems and libraries is vital, as updates may be needed for smooth integration.
This process is necessary to take advantage of the latest features, security enhancements, and performance optimisations offered by the newer Rails version. It ensures the application remains current, maintainable, and aligned with evolving user expectations and technical standards.

By following these steps, you can ensure that your Ruby on Rails application is upgraded smoothly and without any major disruptions. Check out the essential considerations while assessing the current state of your Ruby on Rails application.
Step 2: Research and plan the upgrade
Once you have assessed the current state of your application, research the latest stable versions of Ruby and Rails. Visit the official Ruby and Rails websites to gather information about the new features, changes, and potential compatibility issues. It’s also a good idea to review the release notes and changelogs for both the Ruby and Rails versions.

To ensure a comprehensive Ruby on Rails upgrade, it’s vital to create a list of action items that cover all essential areas requiring attention. These action items include:
-
- Determining whether you upgrade both Ruby and Rails or just one?
When upgrading your Ruby on Rails app, consider upgrading both Ruby and Rails if the Ruby version is outdated and unsupported. If the Ruby version is relatively recent and supported, you may upgrade only Rails to the latest version. Upgrading both simultaneously can be more complex and time-consuming, so assess your application’s specific needs and constraints to make an informed decision.
-
- Does your current situation demand you to migrate the data?
Another critical consideration is whether you need to migrate data or the structure of your application due to changes in gems or core features without losing the integrity of the data. For instance, in the past, applications used the PaperClip gem for handling file uploads, but in later versions of Rails, Active Storage was introduced as a built-in solution for the same purpose.
-
- Deciding between a direct upgrade or a phased upgrade
When upgrading your Ruby on Rails application, you have two options: a phased approach or a direct jump. The phased approach involves incremental upgrades through multiple intermediate versions, offering better control and validation. The direct jump upgrades directly to the latest version but may be riskier, especially for larger and more complex applications.
Choose the approach based on the application’s complexity and the size of the upgrade gap. Phased upgrades are recommended for larger applications to reduce unforeseen issues. Smaller applications with a small upgrade gap may consider a direct jump for simplicity and speed.
Evaluate the need for data and structure migrations due to changes in gems or core features. Opt for a phased approach or direct jump based on the complexity and scale of your application, keeping in mind that a phased approach can provide more control and stability during the upgrade process.
By following these recommendations, you can navigate the upgrade process more effectively and ensure a successful transition to an enhanced and up-to-date Ruby on Rails application.
Step 3: Change your application’s Ruby Version.
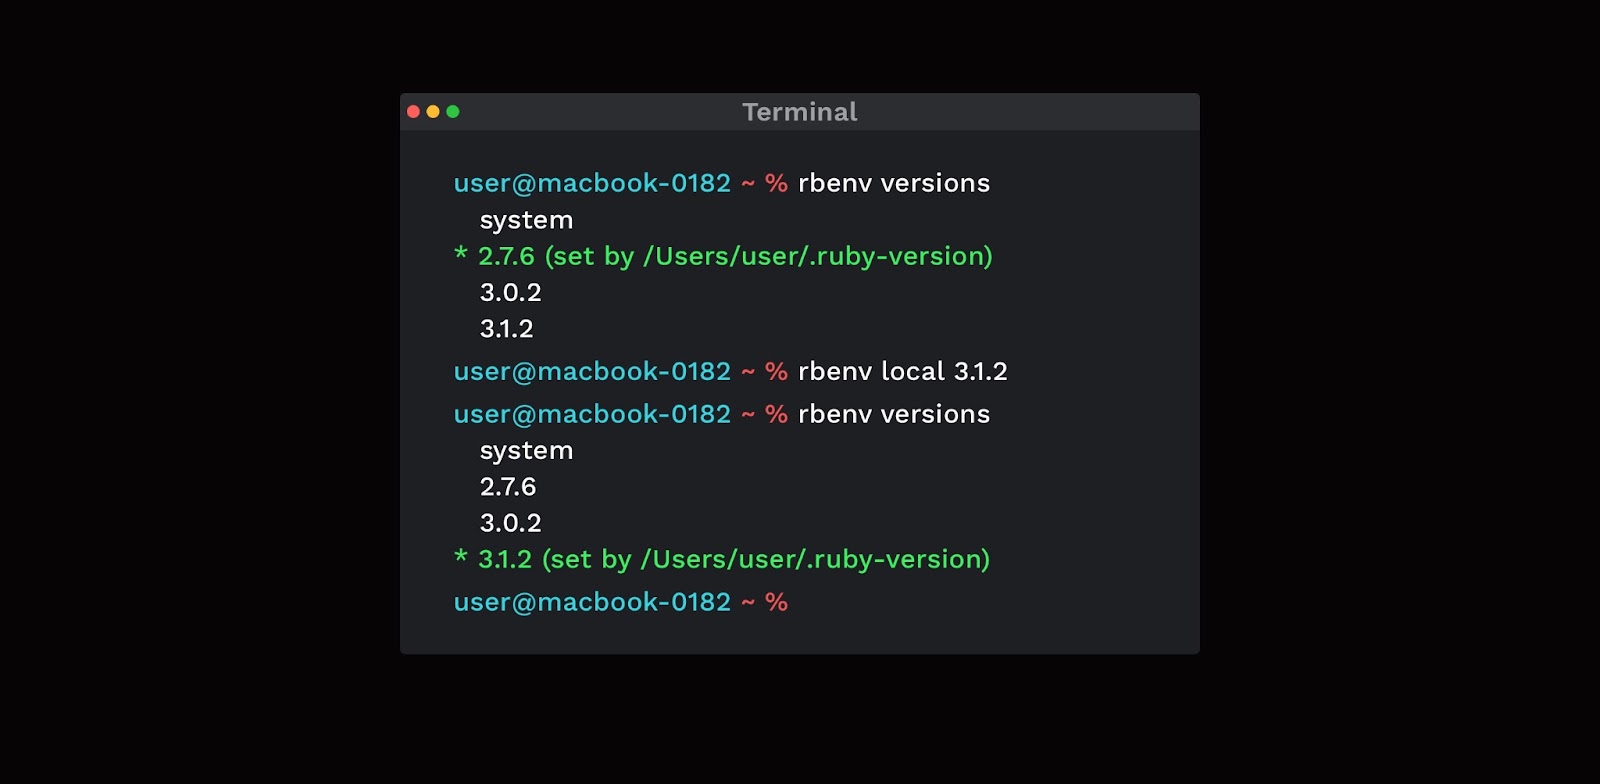
To ensure the security and stability of your Ruby applications, it is crucial to keep your Ruby version up to date. Begin the update process by checking your application’s compatibility with the new Ruby version. To manage multiple Ruby versions on your system, it is recommended to use a version manager like RVM (Ruby Version Manager) or rbenv or asdf. These tools allow you to install multiple versions of Ruby smoothly, switch between them easily, and manage different Ruby versions without interfering with your system’s default Ruby installation.
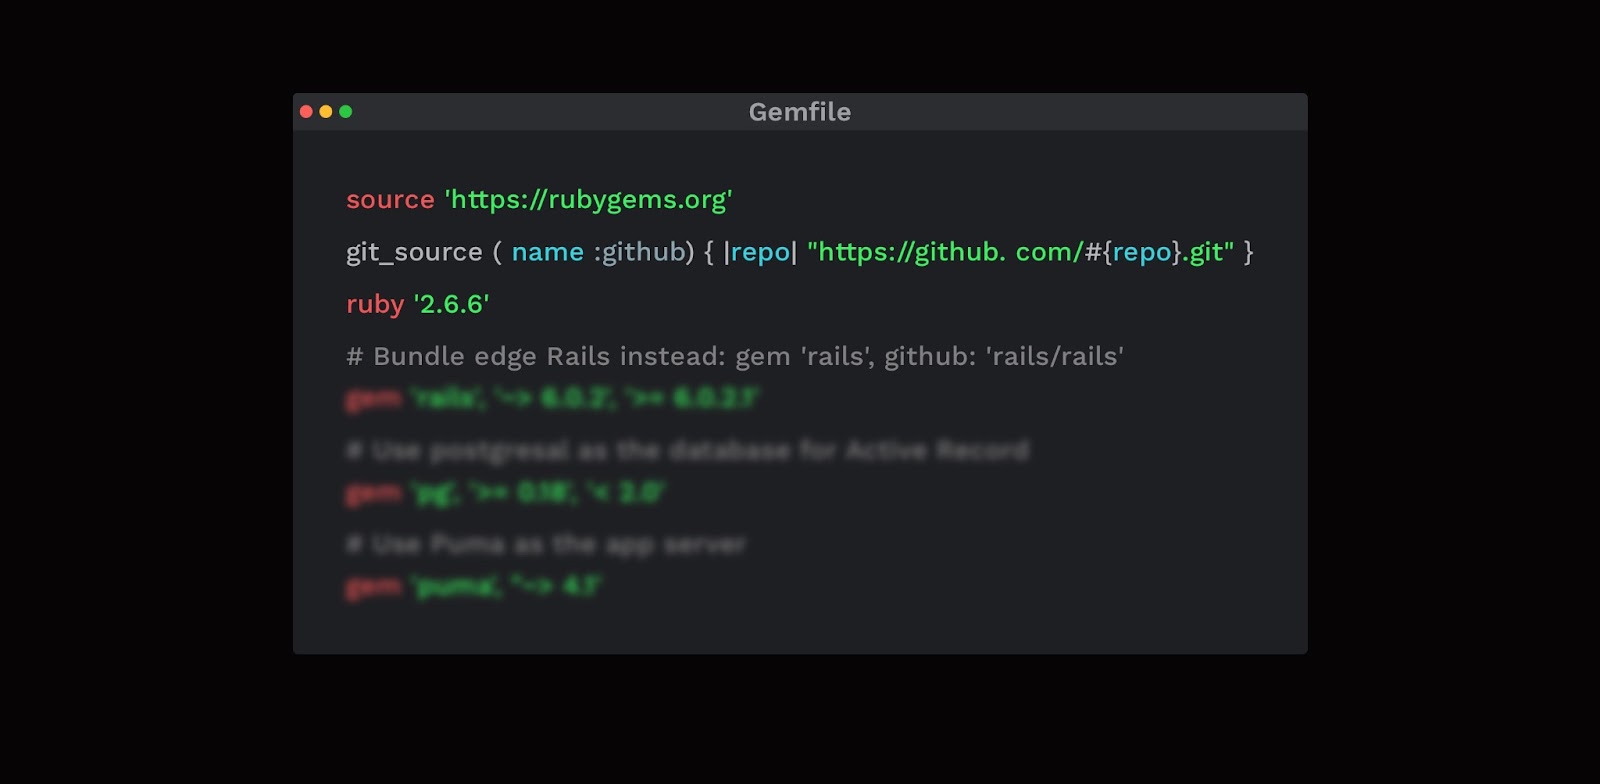
GemfileIn Ruby on Rails applications, the version of Ruby used by the application is typically specified in the “Gemfile”.
.ruby-version file
The “.ruby-version” file is a configuration file used in Ruby projects, particularly in Ruby on Rails applications. It specifies the version of Ruby that should be used when working on the project. This file helps developers and tools (like version managers) to automatically set the appropriate Ruby version for the project, ensuring consistency and compatibility.
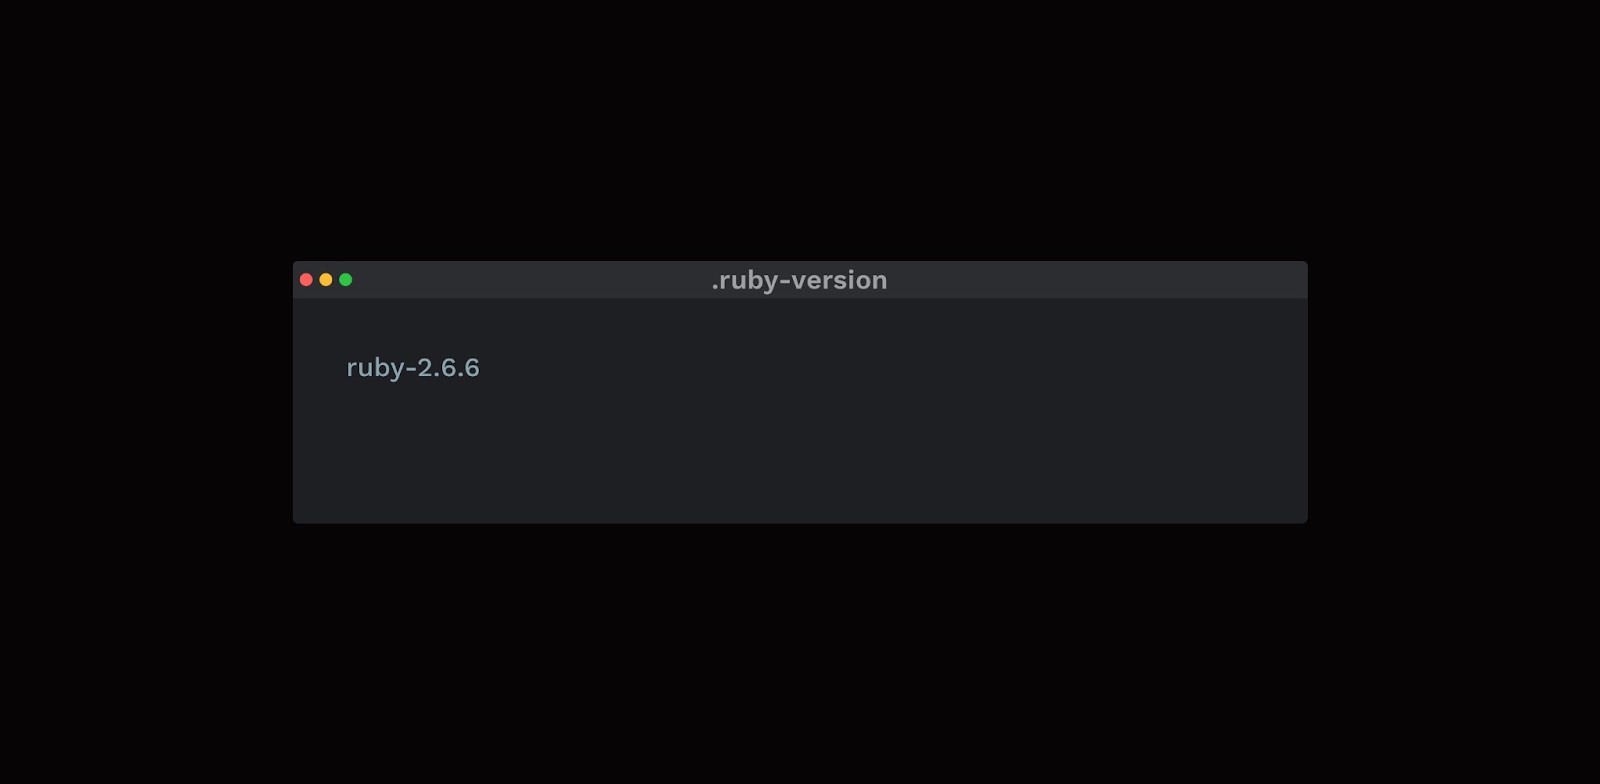
For instance, if the “.ruby-version” file contains “2.6.6”, it indicates that the Ruby version 2.6.6 should be used for the current project. When a developer or a tool detects this file, it automatically switches to the specified Ruby version to ensure the application runs correctly without any version-related issues.
Step 4: Update your application’s Rails Version.
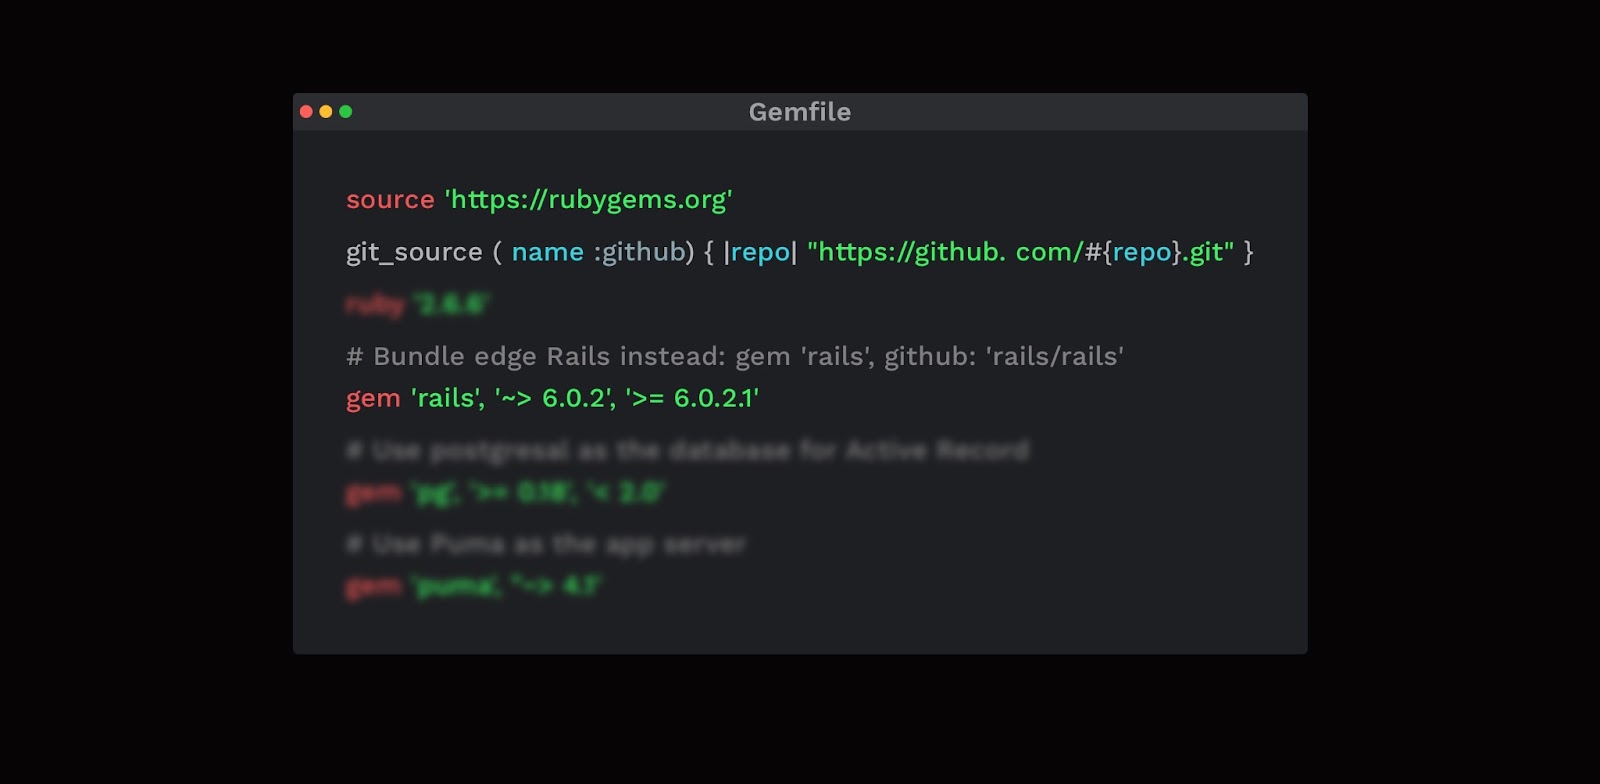
Once you have successfully updated your Ruby version, it’s time to update your Rails version. Begin by updating the Rails gem version specified in your application’s Gemfile to the desired version. This file contains a list of dependencies and their respective versions required for your Rails application to run correctly.
To update the Rails gem, you can manually modify the Gemfile by replacing the existing version number with the new desired version.
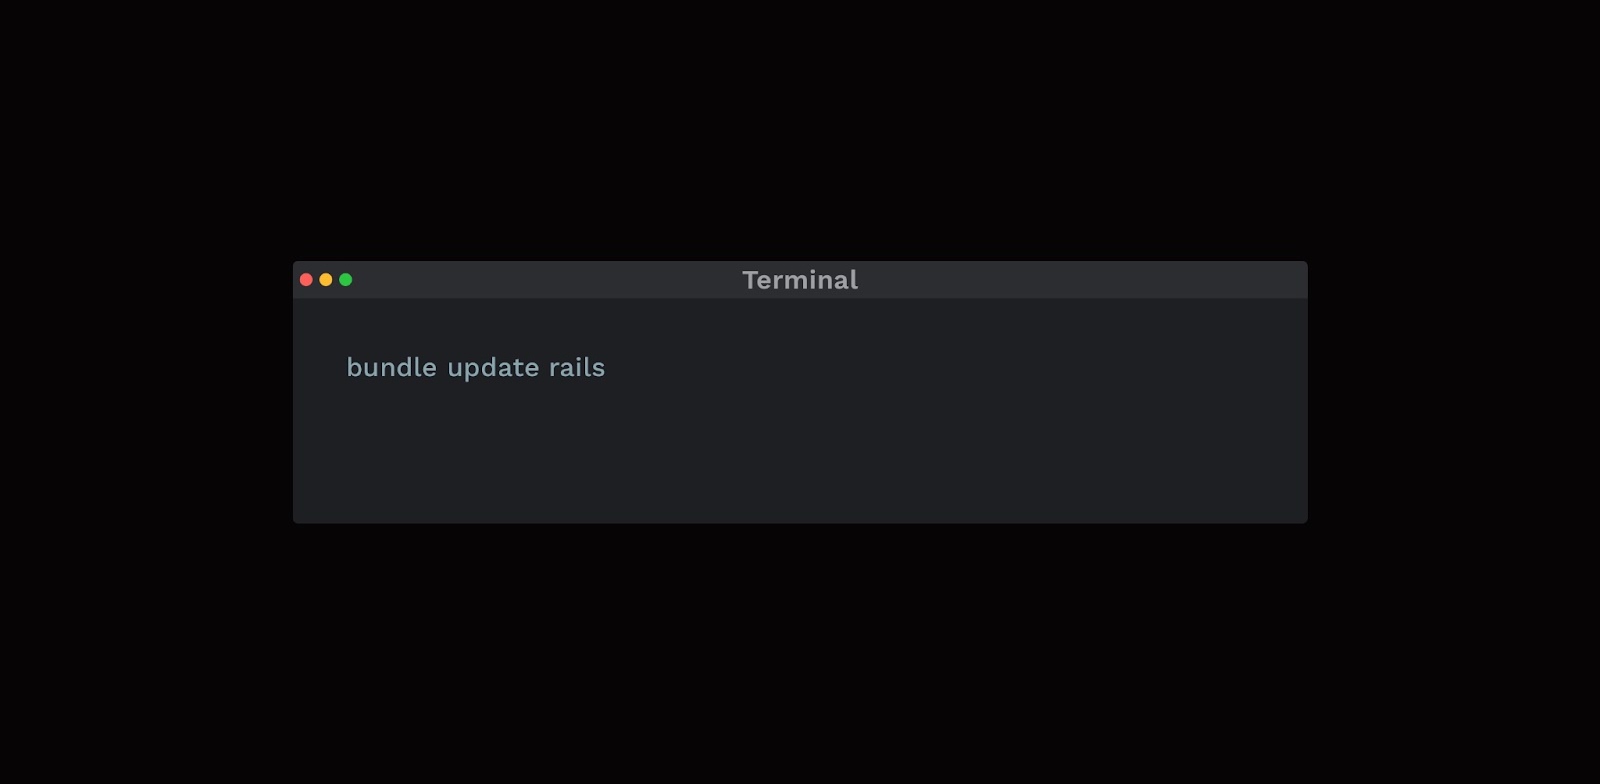
Alternatively, you can use the bundle update command in your terminal, automatically updating the Rails gem to the latest stable version or the version specified in your Gemfile.
Step 5: Update the configuration of your application.
While upgrading a Ruby on Rails application, a systematic approach is essential for addressing deprecated code and configurations. The codebase should be thoroughly analysed to identify all deprecated elements, such as outdated gem dependencies and Rails APIs.
Rails provides comprehensive release notes for each of its versions, which highlight the deprecated features and suggest alternative approaches. Review the upgrade guide for the Rails version you’re upgrading to and make the necessary changes in your application code. Pay close attention to changes in controller syntax, view rendering, and any other areas mentioned in the upgrade guide. This is essential because if there happens to be any deprecated functions then this will let you know as it gets broken. Due to the complexity and potential impact of these updates, seeking guidance from an expert becomes essential. For more details about the update configurations, check out this guide from Rails.
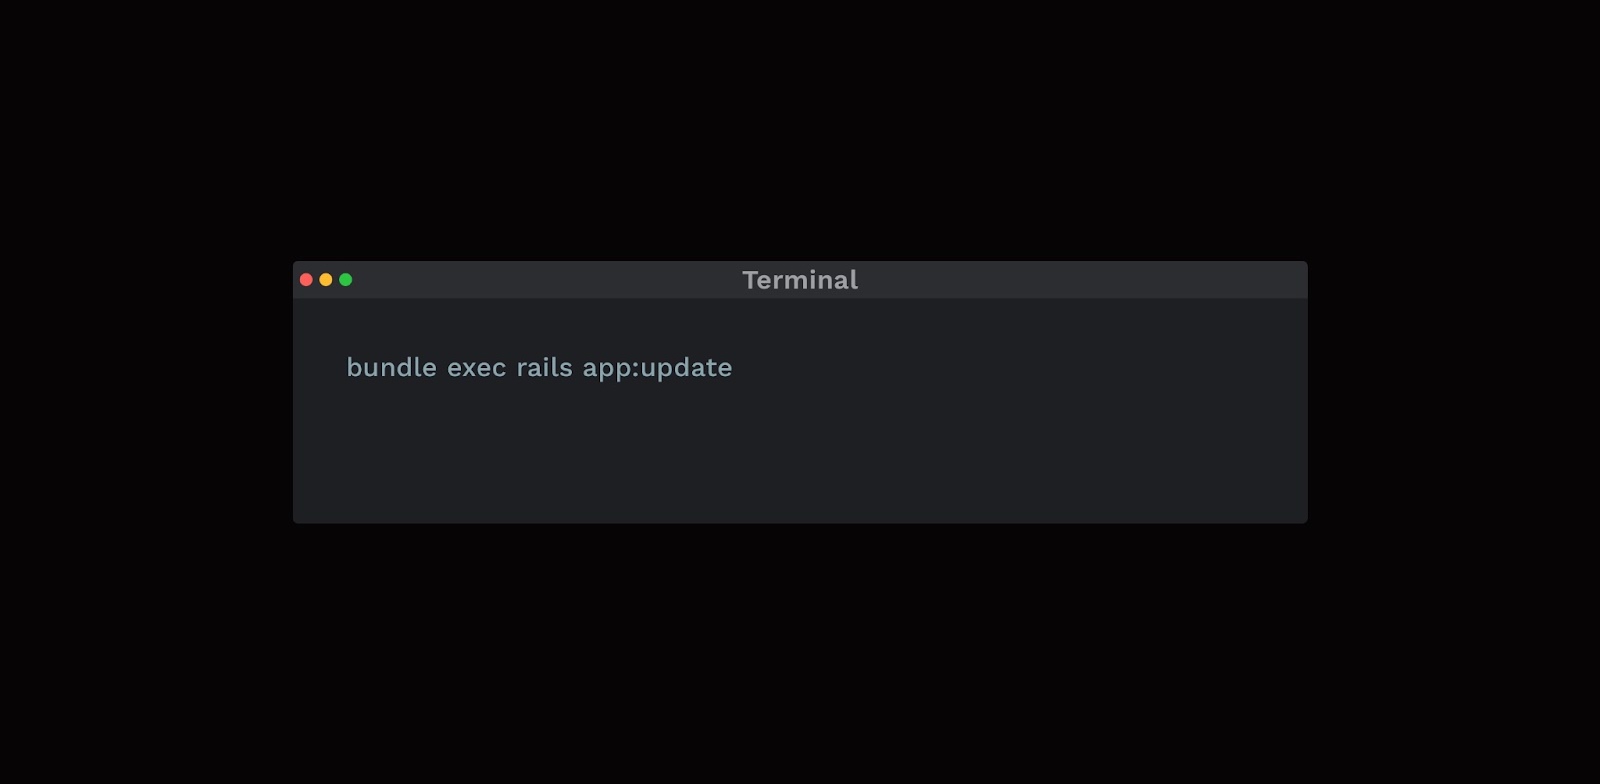
Starting from Rails 5 version, rails has released a command to update the application’s configurations to desired Rails version’s configurations. We can use the below command to achieve the same.
Alternatively, If you are interested in knowing more about the configuration-related changes between your current Rails version and proposed Rails version, you can use Railsdiff. This website provides detailed information on where we need to update the changes in the application’s default configurations for the Rails version update. For example, if you are upgrading your application from version Rails 3 to Rails 4, then this website will be useful to know about the changes in the application’s configurations.
Step 6: Update deprecated dependencies
As Rails and gems evolve, older dependencies may become outdated and no longer supported, leading to potential compatibility issues or security vulnerabilities.
Before upgrading, thoroughly review the documentation of the new Rails version and all the gems used in your application to identify any deprecated features or dependencies. Replace or update them with the latest alternatives to ensure a smooth and secure transition to the new version. Regularly updating your application’s dependencies helps maintain its stability and security over time. For more details about updating deprecated dependencies, check out the instructions from Rails.
Step 7: Ensure configurations using Asset Pipeline
To ensure a smooth upgrade, it is essential to review and update the configurations related to the Asset Pipeline. This includes verifying the compatibility of existing assets with the upgraded Rails version, adjusting settings in the “config/application.rb” file to enable or disable specific features as needed, and ensuring the correct usage of asset-related helpers and methods throughout the application.
The Asset Pipeline is a feature in Rails that helps manage and process various assets like CSS, JavaScript, and images, optimising them for production use. During the upgrade process, it’s essential to review the existing asset configurations and make any necessary adjustments to ensure compatibility with Rails 7 and to take advantage of any new enhancements.
Step 8: Test your application
After updating the code and configuration, it’s crucial to test your application to ensure it functions correctly and thoroughly.
Below mentioned are some typical types of testing that you need to make a note of:
Unit Testing
-
- Before upgrading, review the existing test suite to identify the areas with good test coverage. This will help you focus on the parts of the application that may be most affected by the upgrade.
-
- Identify the critical features and functionality of your application. These are the parts of the codebase that are crucial for your application’s core operations. Write new unit test cases to cover these critical areas thoroughly.
-
- Verify that the gems and dependencies used in your application are compatible with the updated Ruby on Rails version. Some gems might need to be updated or replaced to work correctly with the new Rails version.If the new Rails version uses a different database version or driver, test database interactions thoroughly to ensure data integrity and proper query execution.
Regression testing
-
- Create a comprehensive test suite covering the existing functionality of the application.
-
- After the upgrade, run the test suite to check if all previously working features still perform as expected.
-
- Detect and address any unintended side effects or broken functionalities resulting from the upgrade.
Performance testing
-
- Measure and analyse the application’s response time, throughput, and resource utilisation under various scenarios.
-
- Identify performance bottlenecks and optimise database queries, caching, and other critical components.
-
- Use tools like JMeter or Gatling to simulate load and stress on the application and assess its scalability.
Security testing
-
- Conduct security assessments, including vulnerability scanning and penetration testing, to identify potential weaknesses.
-
- Ensure the upgraded application adheres to the latest security best practices and standards.
-
- Address any security vulnerabilities found during testing to safeguard the application from potential threats.
Step 9: Deploy and Monitor
Once you have completed all the necessary updates, it’s time to deploy your upgraded application to your staging or production environment. Monitor the application closely for any issues, and be prepared to handle any unexpected errors or performance degradation that may arise. Configure APM tools like NewRelic, Datadog, Appdynamics, Dynatrace and error notifiers like bugsnag, Sentry, Rollbar etc, so that you handle the issues proactively.
How do I validate the performance of my Ruby on Rails application?
Upgrading the version of your Ruby on Rails application and validating its performance are closely interrelated processes that go hand in hand. When you decide to upgrade your Ruby on Rails framework to a newer version, you are essentially introducing new features, bug fixes, security patches, and potentially changes to the underlying architecture. While the primary goal of upgrading is to benefit from these improvements, it can also introduce compatibility issues with your existing codebase, gems, and dependencies.
Consequently, it becomes crucial to validate the performance of your application after the upgrade to ensure that it not only functions correctly but also performs optimally under the new framework version.
Performance validation involves comprehensive testing of different aspects of your application, such as response times, database queries, memory usage, and scalability, among others. So as your next action item, the important task you need to do is validate the performance of your Ruby on Rails application. To carry out the process effectively and get a complete idea of validating your application’s performance status, take a walkthrough of our article on how to validate the performance of your Ruby on Rails application.
Still wondering if we could help you out with something? Feel free to reach out to our team.

